How Long to Boil Shrimp: Cooking Times for Fresh & Frozen Shrimp
Introduction
When you’re craving perfectly cooked shrimp, knowing the right simmering time makes all the difference. Too little, and they stay soft and underdone.
Too much, and they turn rubbery and tough. The key? Understanding how factors like freshness, size, and prep style influence the ideal cooking time.
If you’ve ever wondered whether fresh shrimp boil faster than frozen, or how shell-on shrimp compare to peeled ones, you’re in the right place.
This guide will walk you through everything you need to know, so you’ll never have to second-guess your timing again.
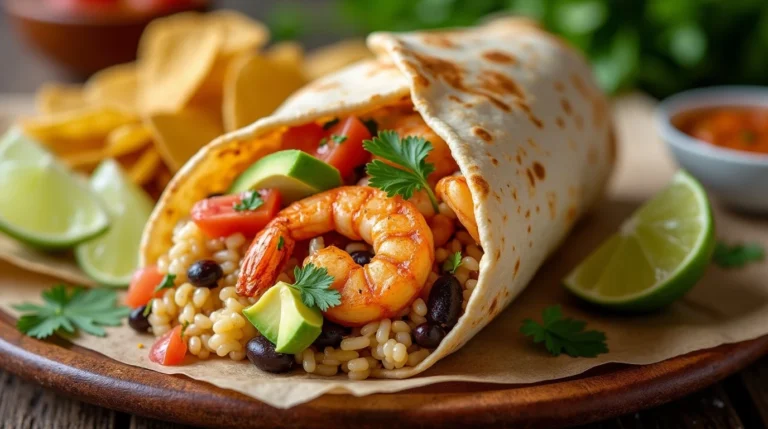
Whether you’re making a seafood feast, prepping shrimp for pasta, or adding them to a classic shrimp cocktail, getting the timing right ensures they stay juicy and flavorful.
By the end of this article, you’ll have a foolproof approach to boiling shrimp—no overcooking, no guesswork, just perfect results every time.
Table of Contents
How Long to Boil Shrimp? Quick Answer
Timing is everything when it comes to boiling shrimp. Get it right, and you’ll have tender, juicy bites packed with flavor. Miss the mark, and you’ll end up with something chewy or undercooked.
So, how long should you actually let shrimp cook in hot water?
General Cooking Times for Shrimp
The boiling time depends on a few key factors—whether your shrimp are fresh or frozen, their size, and if they’re peeled or still in their shells. Here’s a quick breakdown to help you:
- Small shrimp (51/60 count per pound): 30 seconds – 1 minute
- Medium shrimp (41/50 count per pound): 1 – 1.5 minutes
- Large shrimp (31/40 count per pound): 2 – 3 minutes
- Jumbo shrimp (21/25 count per pound): 3 – 4 minutes
- Colossal shrimp (16/20 count per pound): 4 – 5 minutes
Fresh shrimp take slightly less time than frozen ones, and leaving the shells on can add about 30 extra seconds to the cooking process.
If you’re boiling shrimp straight from the freezer, expect them to take about 1 minute longer than fresh shrimp of the same size.
How to Know When Shrimp Are Done
Instead of relying solely on a timer, watch for these clear signs that your shrimp are perfectly cooked:
- Color change: Raw shrimp start off gray and translucent. When fully cooked, they turn pink with bright red tails.
- Shape shift: Shrimp naturally curl up as they cook. A loose “C” shape means they’re just right, while a tight “O” shape usually means they’ve gone too far.
- Texture test: Perfectly cooked shrimp feel firm yet slightly springy to the touch. Overcooked shrimp turn rubbery, while undercooked ones feel mushy.
- Internal temperature: For precision, use a food thermometer. Shrimp should hit 120°F (49°C) at the thickest part for safe consumption.
Now that you’ve got the timing down, let’s break down the step-by-step process for boiling fresh and frozen shrimp so you can master it every time.
Boiling Fresh Shrimp: Step-by-Step Guide
Cooking fresh shrimp is one of the easiest ways to bring out their natural sweetness and delicate texture. But if you don’t pay attention to the details, you could end up with shrimp that are either too soft or frustratingly rubbery.
The secret? Timing, seasoning, and proper handling. Here’s a foolproof step-by-step process to ensure your shrimp come out perfect every time.
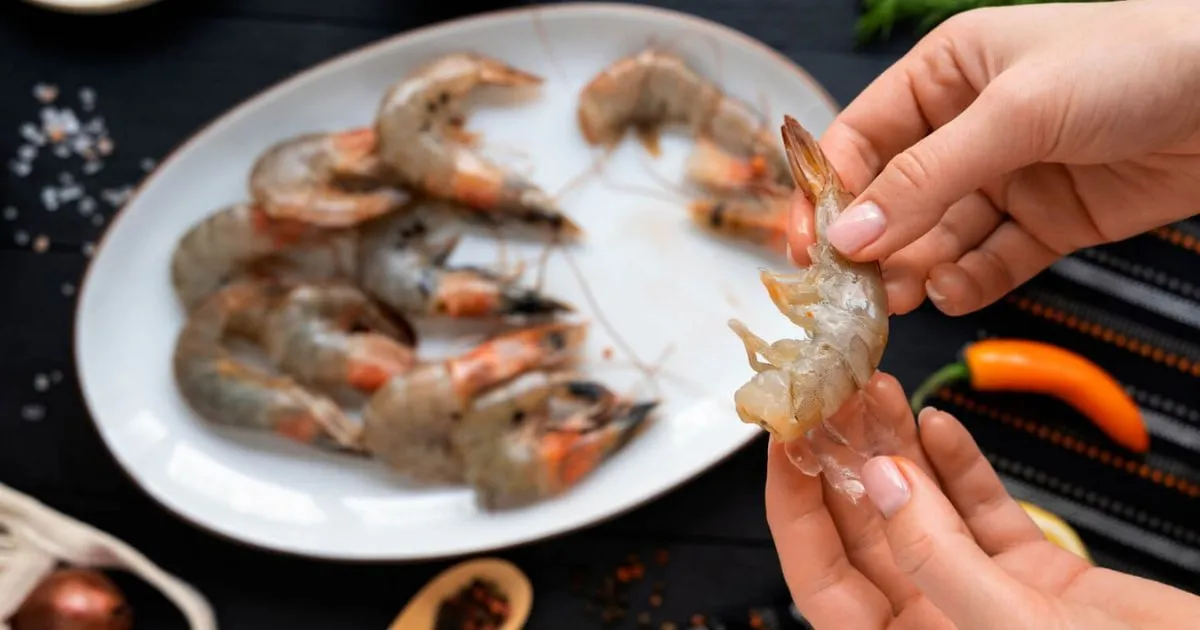
Step 1: Choose the Right Fresh Shrimp
Before you even start boiling, picking high-quality shrimp is crucial. When buying fresh shrimp, keep these pointers in mind:
- Look for clear shells – Fresh shrimp should have a slightly translucent shell with no black spots or discoloration.
- Check the smell – They should have a mild, ocean-like scent. A strong, ammonia-like smell means they’re past their prime.
- Decide on shell-on or peeled – Boiling shrimp with the shells on helps lock in moisture and flavor, but peeled shrimp cook slightly faster and absorb seasoning better.
- Opt for deveined if possible – While you can remove the vein yourself, buying pre-deveined shrimp saves time.
Step 2: Prepare the Water for Maximum Flavor
Plain boiling water works, but if you want restaurant-quality shrimp, adding seasonings makes all the difference. In a large pot, bring 4 to 6 cups of water per pound of shrimp to a rolling boil. Then, enhance the flavor with:
- 1–2 tablespoons of salt – Essential for seasoning the shrimp from the inside out.
- Lemon wedges – A squeeze of citrus brightens up the taste.
- Old Bay or Cajun seasoning – Adds a rich depth of flavor.
- Bay leaves and garlic – Give the shrimp a more aromatic, seafood-boil-style taste.
Let the water boil for about 2 minutes to allow the seasonings to infuse before adding your shrimp.
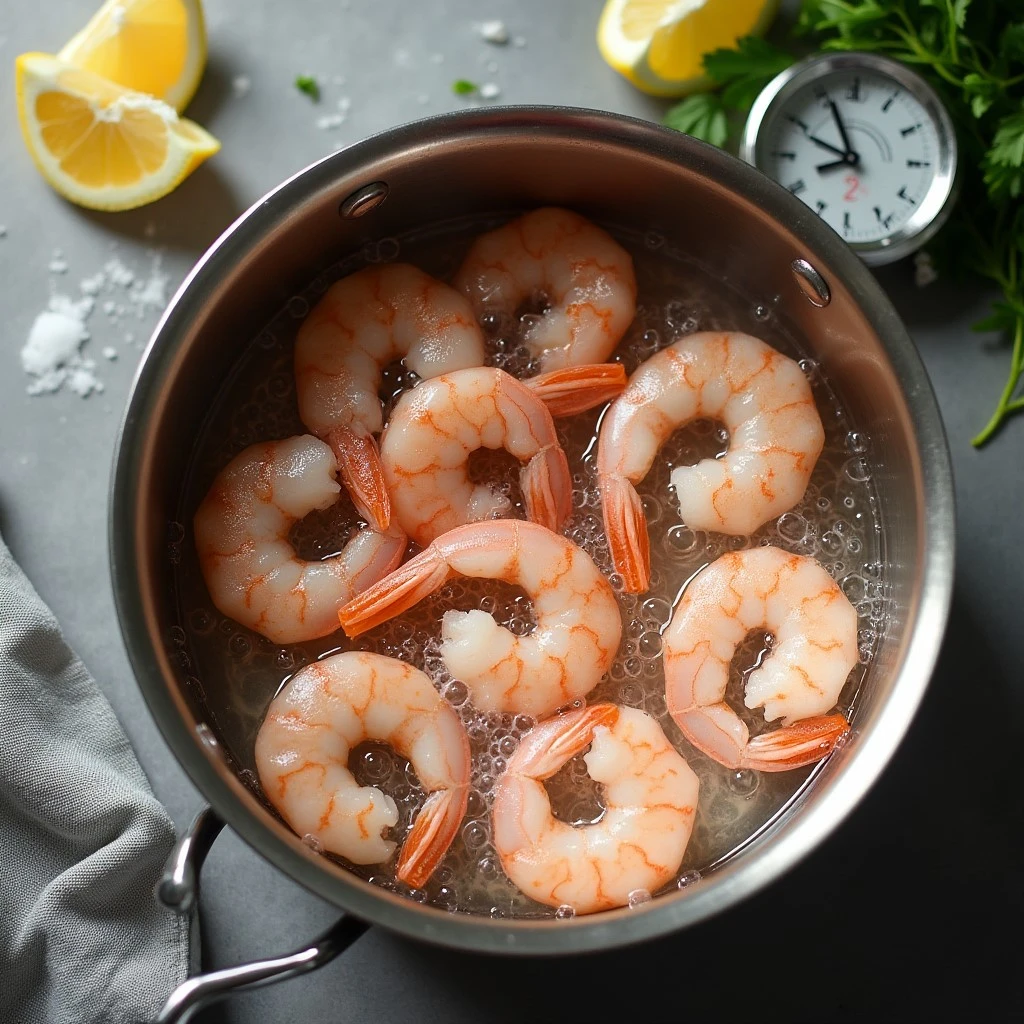
Step 3: Boil the Shrimp to Perfection
Once the water is seasoned and at a full boil, gently drop in the fresh shrimp. Stir occasionally to ensure even cooking. Follow this timing guide:
- Small shrimp (51/60 count per pound): 30 seconds – 1 minute
- Medium shrimp (41/50 count per pound): 1 – 1.5 minutes
- Large shrimp (31/40 count per pound): 2 – 3 minutes
- Jumbo shrimp (21/25 count per pound): 3 – 4 minutes
- Colossal shrimp (16/20 count per pound): 4 – 5 minutes
Keep a close eye on them—shrimp cook fast! As soon as they turn pink and opaque with a slight curl, they’re done.
Step 4: Stop the Cooking Process Immediately
Shrimp continue cooking even after they’re removed from the water, so to prevent overcooking, transfer them immediately into an ice bath (a bowl of ice water).
Let them sit for about 30–60 seconds before draining. This helps them maintain their juicy, tender texture.
Step 5: Drain and Serve
Once cooled, drain the shrimp in a colander and pat them dry with a paper towel. You can serve them as-is, toss them in butter and garlic, or chill them for shrimp cocktail.
If you want extra flavor, lightly sprinkle more Old Bay or a squeeze of fresh lemon before serving.
Now that you’ve mastered boiling fresh shrimp, let’s go over how to handle frozen shrimp without ending up with a watery or overcooked mess.
How to Boil Frozen Shrimp Without Overcooking
Boiling frozen shrimp might seem simple—just toss them into hot water and wait, right? Not quite. If you don’t do it right, you could end up with shrimp that are rubbery, flavorless, or worse, waterlogged.
The trick is to control the temperature, use the right amount of seasoning, and know exactly when to take them out.
Whether you’re working with raw frozen shrimp or pre-cooked ones, this guide will help you get the perfect texture every time.
Step 1: Decide Whether to Thaw or Cook from Frozen
Before you drop those shrimp into boiling water, you have two options:
- Cooking straight from frozen – This works, but it adds about 1 extra minute to the cooking time, and the shrimp might not absorb as much flavor.
- Thawing before boiling – This gives you more control over the texture and seasoning. To thaw, place shrimp in a colander under cold running water for 5–7 minutes, or let them sit in the fridge overnight.
If you’re in a rush, cooking from frozen is fine, but if you want the best flavor and consistency, a quick thaw is worth the effort.
Step 2: Prepare the Perfect Boiling Water
Shrimp absorb flavor as they cook, so plain water won’t do them justice. Instead, create a flavorful boil by adding:
- 4–6 cups of water per pound of shrimp
- 1–2 tablespoons of salt (seasoning starts from the inside)
- A squeeze of lemon or a few lemon wedges for a bright, fresh taste
- 1–2 cloves of crushed garlic for depth of flavor
- A teaspoon of Old Bay or Cajun seasoning (optional but highly recommended)
- A bay leaf for a mild, herby aroma
Bring everything to a rolling boil and let it simmer for 2 minutes to blend the flavors before adding your shrimp.
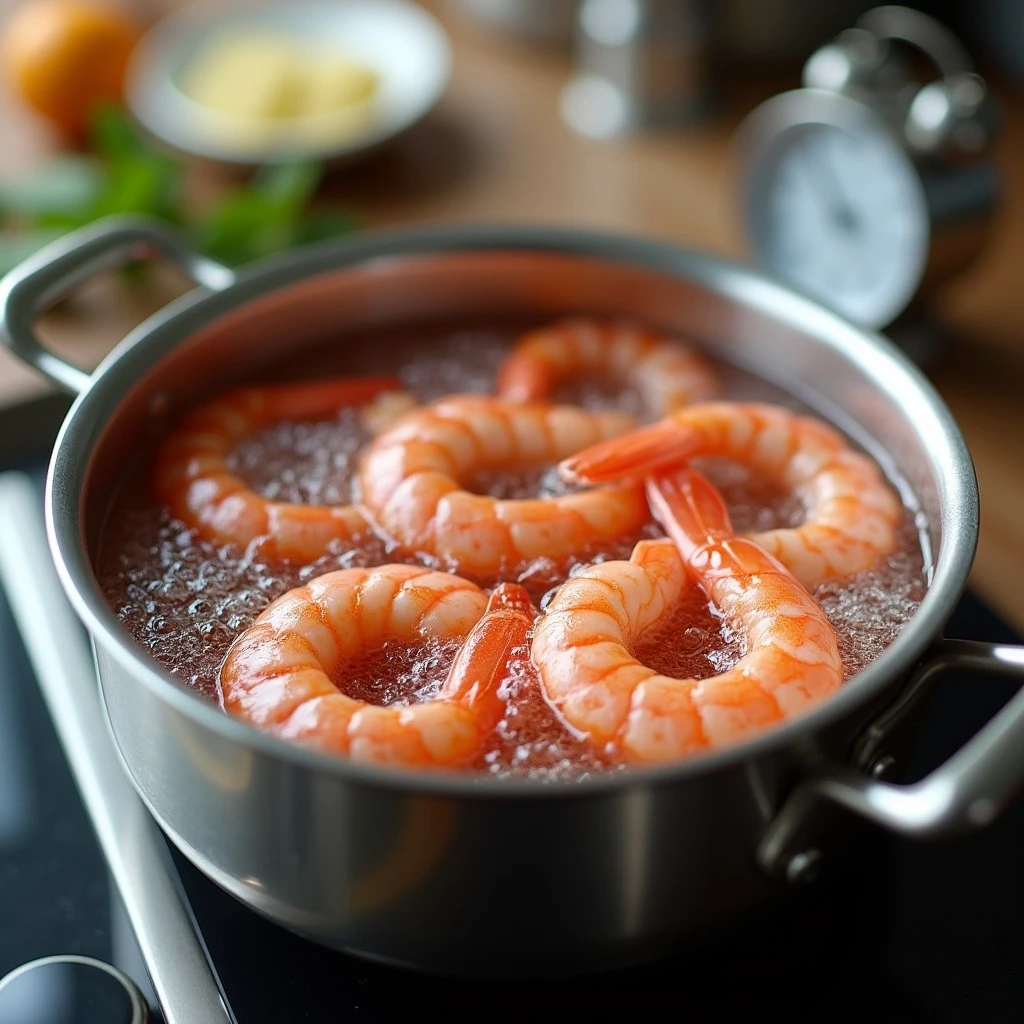
Step 3: Boil Frozen Shrimp the Right Way
Now, it’s time to cook. Drop the frozen shrimp into the boiling water and give them a quick stir to separate them. Use this timing guide:
- Small frozen shrimp (51/60 count per pound): 1 – 1.5 minutes
- Medium frozen shrimp (41/50 count per pound): 2 – 2.5 minutes
- Large frozen shrimp (31/40 count per pound): 3 – 4 minutes
- Jumbo frozen shrimp (21/25 count per pound): 4 – 5 minutes
- Colossal frozen shrimp (16/20 count per pound): 5 – 6 minutes
Watch closely—shrimp cook fast, and overcooked shrimp turn tough in an instant.
Step 4: Know When They’re Done
Rather than relying solely on a timer, look for these clear signs that your shrimp are perfectly cooked:
- Color change: Shrimp turn from gray and translucent to bright pink and opaque.
- Shape shift: Properly cooked shrimp curl into a loose “C” shape—if they form a tight “O,” they’re overdone.
- Texture test: They should feel firm yet slightly springy. Overcooked shrimp become tough and rubbery, while undercooked ones are mushy.
- Internal temperature: If you’re using a thermometer, shrimp should read 120°F (49°C) at the thickest part.
Step 5: Stop Cooking Instantly
To avoid overcooking, immediately transfer your shrimp to an ice bath (a bowl of ice water) for about 30–60 seconds. This halts the cooking process, locks in moisture, and prevents them from turning rubbery.
Step 6: Drain and Serve
After the shrimp have cooled, remove any excess liquid and gently dry them with a paper towel. Now they’re ready to be used in shrimp cocktails, pastas, salads, or your favorite seafood dishes.
If you want a little extra flavor, toss them in melted butter, garlic, or a sprinkle of Old Bay before serving.
Boiling frozen shrimp doesn’t have to be tricky—as long as you control the temperature and watch the timing, you’ll get perfectly tender, juicy shrimp every time.
Tips for Perfectly Boiled Shrimp Every Time
Boiling shrimp seems simple, but if you’ve ever ended up with rubbery, mushy, or bland shrimp, you know there’s more to it than just tossing them in hot water.
The good news? With the right approach, you can achieve perfectly plump, juicy shrimp every single time. Whether you’re making shrimp for a cocktail, pasta, or a seafood feast, these expert tips will help you avoid common mistakes and enhance the flavor and texture of your shrimp.
1. Use the Right Amount of Water
Shrimp need room to cook evenly, so don’t overcrowd your pot. A good rule of thumb is 4 to 6 cups of water per pound of shrimp.
If you’re cooking a large batch, use a bigger pot to maintain a steady boil. Overcrowding leads to uneven cooking, where some shrimp turn out overdone while others remain undercooked.
2. Season the Water Like a Pro
Plain boiled shrimp can taste flat, but adding seasonings to the water infuses them with extra flavor. Try these ingredients for a delicious, restaurant-quality taste:
- Salt (1–2 tablespoons per quart of water) – Enhances the natural sweetness of shrimp.
- Lemon wedges – Brightens the flavor and balances the richness.
- Old Bay, Cajun seasoning, or seafood boil mix – Adds a subtle spice and depth.
- Garlic cloves or bay leaves – Elevate the aroma for a more complex flavor.
- A splash of white wine or apple cider vinegar – Provides a hint of acidity that enhances the shrimp’s natural taste.
Let the water boil for a couple of minutes before adding shrimp so the flavors fully blend.
3. Keep an Eye on Cooking Time
Shrimp cook fast—too fast to step away from the stove. The moment they turn pink and opaque, they’re done. If you overcook them by even a minute, they can become rubbery. Follow this time guide based on shrimp size:
- Small shrimp (51/60 count per pound): 30 seconds – 1 minute
- Medium shrimp (41/50 count per pound): 1 – 1.5 minutes
- Large shrimp (31/40 count per pound): 2 – 3 minutes
- Jumbo shrimp (21/25 count per pound): 3 – 4 minutes
- Colossal shrimp (16/20 count per pound): 4 – 5 minutes
If boiling frozen shrimp, add about 1 extra minute to the time.
4. Watch for Visual Cues, Not Just the Timer
Instead of just relying on the clock, look for these clear signs of perfectly boiled shrimp:
- Color: They should turn from gray and translucent to bright pink with an opaque white interior.
- Shape: Properly cooked shrimp curl into a loose “C” shape—if they form a tight “O,” they’re overdone.
- Texture: They should feel firm yet slightly springy when you press them.
5. Use an Ice Bath to Stop Cooking
Shrimp continue cooking even after you take them out of hot water, so to prevent overcooking, immediately transfer them to an ice bath (a bowl of cold water with ice).
Let them sit for about 30–60 seconds, then drain and pat them dry. This step ensures your shrimp stay juicy and don’t turn rubbery.
6. Don’t Boil Pre-Cooked Shrimp
If you’re using pre-cooked shrimp, avoid boiling them altogether. They’ve already been cooked once, and reheating them in boiling water will only make them tough.
Instead, thaw them in cold water or toss them into warm dishes right before serving to retain their texture.
7. Experiment with Flavor-Infused Boils
For shrimp that are bursting with flavor, try boiling them in a broth instead of just water. Some tasty variations include:
- Garlic Butter Boil – Add butter, garlic, and a dash of black pepper for a rich, savory taste.
- Spicy Cajun Boil – Use Cajun seasoning, red pepper flakes, and a splash of hot sauce for a kick.
- Citrus Herb Boil – Add lemon, orange peels, and fresh herbs like parsley or thyme for a refreshing twist.
8. Let the Shrimp Rest Before Serving
Once drained, give your shrimp a moment to absorb any additional seasonings. Toss them with a bit of melted butter, olive oil, or an extra sprinkle of seasoning before serving.
This small step makes a big difference in bringing out the best flavor.
By following these simple but effective tips, you’ll never have to deal with overcooked, bland, or rubbery shrimp again. Whether you’re making shrimp cocktail, pasta, or a seafood boil, you can count on consistently delicious, perfectly boiled shrimp every time!
Frequently Asked Questions About Boiling Shrimp
Boiling shrimp may seem straightforward, but when it comes to getting the perfect texture and flavor, small details matter.
If you’ve ever wondered about cooking times, seasoning tips, or how to avoid common mistakes, you’re not alone. Below are answers to some of the most frequently asked questions to help you boil shrimp like a pro every time.
1. How long should I boil shrimp?
The exact boiling time depends on the size of the shrimp. Here’s a quick guide to ensure you don’t overcook them:
- Small (51/60 count per pound): 30 seconds – 1 minute
- Medium (41/50 count per pound): 1 – 1.5 minutes
- Large (31/40 count per pound): 2 – 3 minutes
- Jumbo (21/25 count per pound): 3 – 4 minutes
- Colossal (16/20 count per pound): 4 – 5 minutes
Shrimp cook fast, so keep an eye on them. Once they take on a pink hue and form a gentle, open curve resembling a “C,” they’re perfectly done.
2. Should I boil shrimp with the shell on or off?
It depends on your preference and how you plan to use them.
- Shell on: Retains more moisture and flavor, making the shrimp juicier. It also protects the delicate meat from overcooking.
- Peeled shrimp: Cooks slightly faster and absorbs seasonings better but can dry out if overboiled.
If you’re making shrimp cocktail, peeling them after boiling gives you the best of both worlds—flavorful shrimp with easy serving.
3. Do I need to devein shrimp before boiling?
Deveining shrimp is optional, but it’s a good idea, especially for larger shrimp.
The dark vein running along the back is the shrimp’s digestive tract, and while it’s not harmful to eat, it can have a gritty texture.
If you prefer a cleaner look and taste, devein them before cooking.
4. How do I stop shrimp from getting rubbery?
Overcooking is the biggest reason shrimp turn tough and rubbery. To prevent this:
- Use a timer – Shrimp cook fast, so don’t step away from the stove.
- Watch for visual cues – As soon as they turn pink and opaque, remove them from the heat.
- Use an ice bath – Plunge them into ice water immediately after boiling to stop the cooking process.
5. Can I boil frozen shrimp, or do I need to thaw them first?
You can boil frozen shrimp directly, but they’ll take slightly longer to cook. If you’re in a hurry, add an extra 1–2 minutes to the usual boiling time.
However, for the best texture, thaw them first by placing them in cold water for about 15–20 minutes before boiling.
6. How do I season shrimp when boiling?
Adding seasonings to the water is the easiest way to infuse shrimp with flavor. Some great options include:
- Salt – A must-have to enhance the shrimp’s natural sweetness.
- Lemon wedges – Adds a bright, fresh taste.
- Old Bay or Cajun seasoning – Gives shrimp a flavorful, slightly spicy kick.
- Garlic, bay leaves, or peppercorns – Elevates the aroma and adds complexity.
- Beer, vinegar, or white wine – A splash can add depth to the flavor.
Let the water simmer with seasonings for a couple of minutes before adding the shrimp to ensure the flavors fully develop.
7. Can I reuse shrimp boiling water?
Yes! If you’ve seasoned the water well, it’s packed with flavor and can be repurposed. Use it as a broth for soups, stews, or seafood boils.
Just strain it to remove any debris before storing it. If you don’t plan to use it immediately, freeze it for later.
8. What should I do if my shrimp tastes bland?
Bland shrimp usually means they weren’t seasoned properly during cooking. Try these fixes:
- Next time, add more salt and seasonings to the water. Shrimp absorb flavor best while cooking, not after.
- Toss them in a seasoned butter sauce after boiling. Melted butter with garlic, lemon, and spices can quickly enhance their taste.
- Serve with a dipping sauce. Cocktail sauce, garlic butter, or a spicy aioli can boost flavor instantly.
9. How do I store leftover boiled shrimp?
To preserve any remaining shrimp, place them in a sealed container and keep them chilled in the fridge for a maximum of three days.
To keep them from drying out, drizzle a little olive oil or lemon juice over them before storing. If you need to store them longer, freeze them in a sealed bag for up to 3 months.
10. Can I reheat boiled shrimp without making them tough?
Yes! The key is to avoid direct high heat, which can make them rubbery. Instead:
- Use a skillet: Heat them gently in butter or olive oil for 1–2 minutes.
- Steam them: Place them in a steamer basket for about 1 minute.
- Microwave carefully: Cover with a damp paper towel and heat in 10-second bursts.
Avoid boiling them again, as this will overcook them.
By keeping these answers in mind, you’ll be able to master boiling shrimp and avoid common pitfalls. Whether you’re making a quick shrimp salad, a seafood pasta, or a classic shrimp cocktail, you’ll have tender, flavorful shrimp every time!
Conclusion
Mastering the art of boiling shrimp doesn’t have to be complicated. With the right approach, you can consistently achieve perfectly tender, juicy shrimp without any guesswork.
Whether you’re cooking fresh or frozen shrimp, timing is everything—just a few extra seconds can make the difference between succulent bites and rubbery disappointment.
Now that you know exactly how long to boil shrimp, along with the best techniques to lock in flavor and avoid overcooking, you’re ready to take your seafood game to the next level.
By following simple steps like seasoning your water, watching for the telltale pink color, and using an ice bath when needed, you can ensure restaurant-quality results every time.
The next time you prepare shrimp for a meal, whether it’s for shrimp cocktail, pasta, tacos, or a fresh salad, you’ll have the confidence to cook them just right.
And if you ever find yourself wondering about a specific detail—like whether to keep the shells on or how to store leftovers—you can always refer back to these guidelines.
So, grab your shrimp, bring that pot of water to a rolling boil, and enjoy every bite of your perfectly cooked seafood creation. Happy cooking!