10 Expert Tips for Cooking the Perfect Angus Beef Steak
Introduction
Few experiences rival the satisfaction of cutting into a perfectly cooked Angus beef steak—its rich marbling, juicy texture, and bold flavor make it a cut above the rest.
But achieving that restaurant-quality sear, tenderness, and depth of taste at home? That’s where technique, precision, and a little insider knowledge come into play.
If you’ve ever wondered why your steak doesn’t quite match up to a high-end steakhouse’s version, the secret isn’t just in the meat—it’s in how you handle, season, and cook it.
From choosing the right cut to nailing the perfect internal temperature, each step plays a crucial role in bringing out the best in Angus beef.
In this guide, you’ll uncover 10 expert-backed strategies that will transform how you cook steak. Whether you prefer a grilled steak’s smoky char or a pan-seared masterpiece’s golden crust, you’ll learn how to maximize flavor, lock in juiciness, and achieve that flawless, mouthwatering bite.
By the time you’re done reading, you’ll have the confidence and skills to cook the perfect Angus beef steak every single time—no guesswork, no dry or overcooked disasters, just steakhouse-quality results from the comfort of your own kitchen. Ready to master the art of steak? Let’s dive in. 🚀
Table of Contents
Choosing the Best Angus Beef Steak
Before you even think about firing up the grill or heating that cast-iron pan, the first—and most crucial—step is picking the right cut of Angus beef steak.
The quality of your steak determines everything: its tenderness, juiciness, and depth of flavor. If you start with a subpar piece of meat, even the best cooking techniques won’t save it.
When shopping for Angus beef, you’ll want to focus on three key factors: the cut, the marbling, and the aging process. Each plays a crucial role in the final taste and texture of your steak.
Let’s break them down so you can make an informed decision the next time you’re at the butcher or browsing the meat section.
1. Understanding the Different Cuts
Not all steaks are created equal. Some cuts are known for their melt-in-your-mouth tenderness, while others offer a bold, beefy bite. Your choice should match your cooking style and personal preference. Here’s a quick breakdown:
- Ribeye: If you love a rich, buttery texture with loads of flavor, this is your go-to. Thanks to its high marbling content, ribeye remains tender and juicy whether grilled, pan-seared, or broiled.
- New York Strip: Leaner than ribeye but still packed with flavor, the New York strip has a firmer texture and a robust beef taste. It’s an excellent option if you enjoy a hearty chew.
- Filet Mignon: This is the most tender cut of all, with a soft, almost buttery consistency. Since it has less fat, it’s best cooked with butter basting or paired with a rich sauce.
- Sirloin: A budget-friendly option that still delivers great flavor. It’s slightly leaner but can be incredibly juicy when cooked properly.
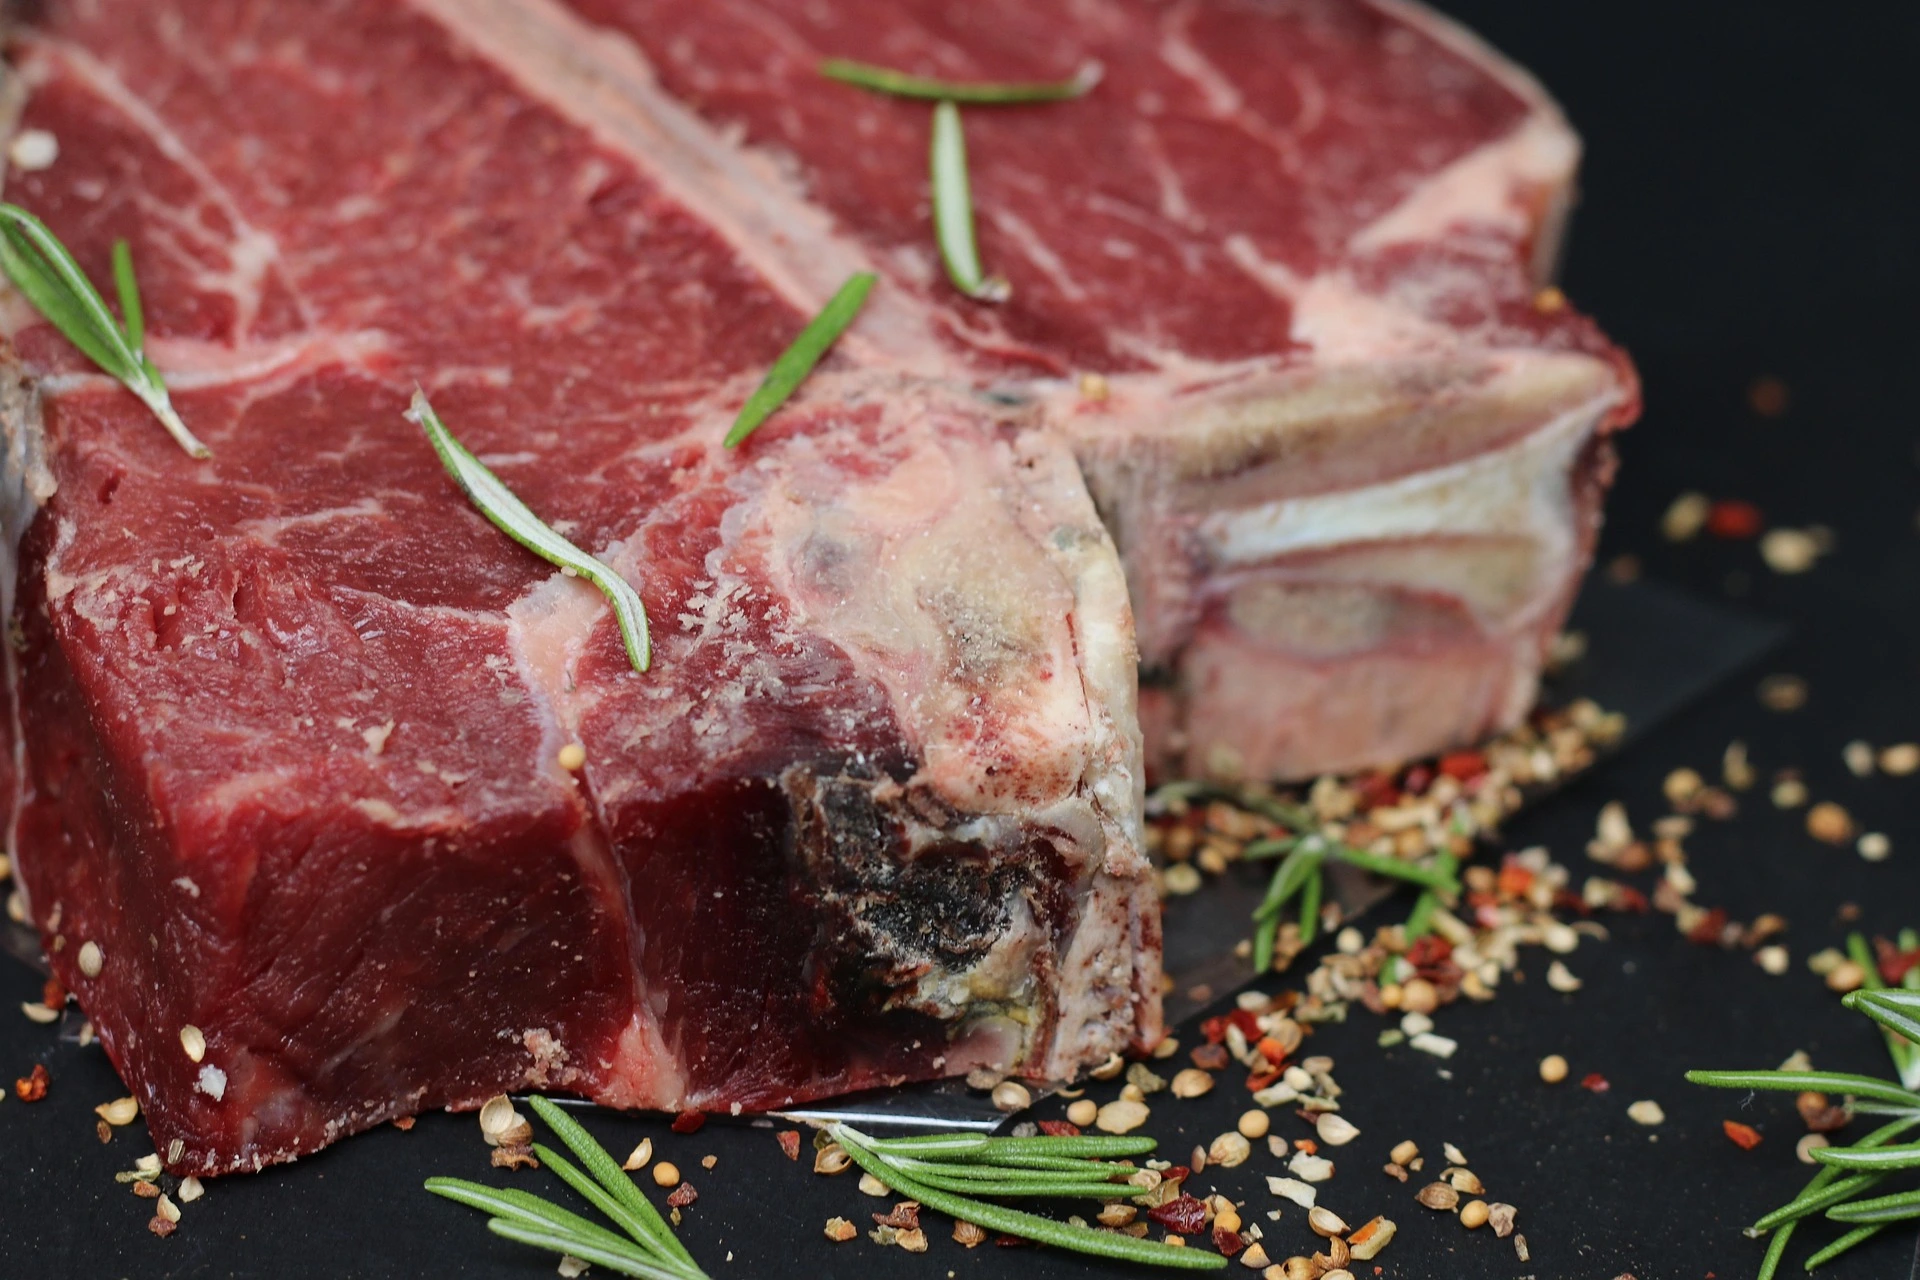
- T-Bone & Porterhouse: These cuts give you the best of both worlds—one side is a tender filet mignon, and the other is a flavorful New York strip. Perfect for steak lovers who can’t decide.
Each cut has its strengths, so it’s all about choosing the one that best suits your taste and cooking method.
2. Look for the Right Marbling
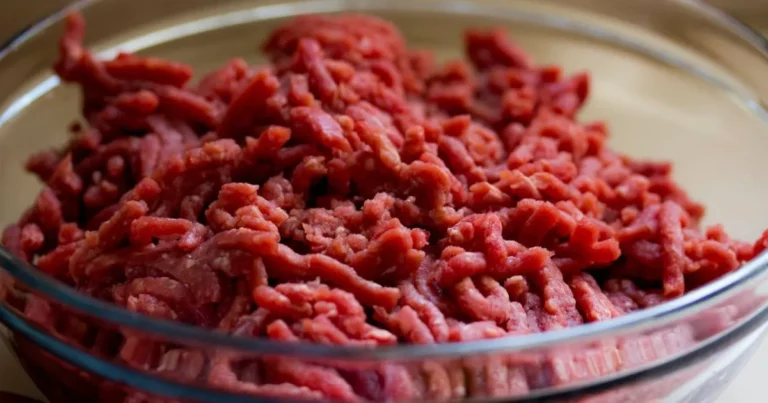
If you’ve ever wondered why some steaks are incredibly tender while others turn out tough, marbling is the answer. Marbling refers to the thin streaks of white fat running through the meat.
When cooked, this fat melts, infusing the steak with moisture and enhancing its rich, beefy flavor.
For Angus beef, marbling is a defining feature—it’s what sets it apart from standard cuts. To ensure you’re getting the best quality:
- Look for fine, even marbling rather than large chunks of fat.
- Choose USDA Prime or Certified Angus Beef for the highest quality.
- Greater marbling translates to a juicier, more succulent steak with richer taste.
Marbling is especially important if you’re cooking a steak medium or medium-well since it prevents the meat from drying out.
3. Fresh vs. Dry-Aged Angus Beef
One factor that can significantly impact the taste of your steak is aging. If you’ve ever had a steakhouse steak with an incredibly deep, complex flavor, chances are it was dry-aged. But what does that mean for you?
- Fresh Angus Beef: This is what you’ll typically find in grocery stores. It’s flavorful and juicy, but it lacks the deep umami richness of aged beef.
- Dry-Aged Angus Beef: Aged in a controlled environment for several weeks, dry-aged beef develops a concentrated, nutty, and intensely beefy flavor. The process also tenderizes the meat by breaking down muscle fibers.
- Wet-Aged Angus Beef: Vacuum-sealed and aged in its own juices, wet-aged beef retains more moisture and has a milder taste compared to dry-aged steak.
If you’re aiming for restaurant-quality steak, consider asking your butcher for a dry-aged cut—it’s worth the splurge.
Final Tip: Where to Buy the Best Angus Beef
To get the highest quality Angus beef steak, skip the generic supermarket brands and go straight to trusted sources:
- Local butchers often carry superior cuts and can guide you in choosing the best steak.
- Online meat delivery services (like Snake River Farms or Crowd Cow) offer premium, hand-selected cuts.
- Specialty grocery stores with a focus on organic and high-quality meats are a great option if you don’t have access to a butcher.
By selecting the right cut, optimal marbling, and best aging process, you’re setting yourself up for steak perfection before it even hits the heat. Now that you’ve got the right steak, let’s move on to preparing it for maximum flavor. 🔥
Preparing Your Steak for Cooking
A perfect Angus beef steak isn’t just about the cooking method—it starts long before the meat touches the heat. The way you prepare your steak has a direct impact on flavor, texture, and overall juiciness.
Skipping this step or rushing through it is one of the biggest mistakes you can make.

Think of it this way: if you take a steak straight from the fridge and toss it onto a scorching hot grill, you’re setting yourself up for uneven cooking, a tough texture, and a lack of that deep, steakhouse-quality flavor.
But with a few simple preparation steps, you’ll unlock your steak’s full potential and ensure every bite is packed with rich, juicy perfection.
1. Let Your Steak Reach Room Temperature
One of the most overlooked yet crucial steps in preparing an Angus beef steak is allowing it to reach room temperature before cooking. Here’s why it matters:
- Even Cooking: A cold steak straight from the fridge won’t cook evenly. The outside may sear beautifully, but the inside will remain undercooked or require extra time, which can dry it out.
- Better Texture: Letting the steak sit at room temperature helps relax the muscle fibers, leading to a more tender bite.
- Consistent Doneness: If you’re aiming for the perfect medium-rare, medium, or even well-done steak, starting at room temperature gives you better control over the final result.
How long should you let your steak rest?
- For thin steaks (under 1 inch thick), 20-30 minutes is usually enough.
- For thick-cut ribeye or filet mignon, 40-60 minutes is ideal.
Simply place the steak on a plate, cover it loosely with foil or parchment, and let it sit. Avoid direct sunlight or heat sources, and never leave it out for more than two hours for food safety reasons.
2. Seasoning for Maximum Flavor
A great steak doesn’t need to be complicated. Salt, pepper, and time—that’s all it takes to bring out the deep, natural flavors of Angus beef. But how and when you season makes all the difference.
The Best Way to Season Your Steak
- Use Coarse Salt: Skip the fine table salt—it dissolves too quickly. Instead, go for kosher salt, sea salt, or Himalayan pink salt. These larger crystals help build a flavorful crust.
- Freshly Cracked Black Pepper: Whole peppercorns ground fresh just before seasoning will add the best depth of flavor.
- Optional Enhancements: Garlic powder, smoked paprika, or a touch of cayenne can add an extra kick if you want to enhance, but not overpower, the steak’s natural taste.
When to Season: Before or After?
This is a common debate, but the best time to season your steak is at least 30 minutes before cooking. Here’s why:
- Salt draws moisture out initially, but after 30 minutes, the steak reabsorbs the liquid, bringing the salt deep into the meat.
- Seasoning early enhances juiciness, whereas seasoning right before cooking can leave moisture on the surface, preventing a proper sear.
- If you’re short on time, season your steak just before placing it on the grill or pan—but for the best results, give it time to absorb the salt.
3. The Secret to a Perfect Sear – The Maillard Reaction
That deep golden-brown crust you see on a perfectly cooked steak? That’s thanks to the Maillard reaction—a chemical process where proteins and sugars in the meat react to heat, creating layers of complex, savory flavors. To achieve the ultimate sear, follow these key steps:
Pat the Steak Dry
After seasoning, use a paper towel to gently blot the surface of the steak. Any excess moisture will cause steam, preventing that signature crispy crust. A dry steak is key to maximizing caramelization.
Use the Right Cooking Oil
Not all oils are created equal. Some have a low smoke point and can burn before your steak even starts cooking. The best choices include:
- Avocado oil (high smoke point, neutral flavor)
- Ghee or clarified butter (adds a rich, nutty taste)
- Beef tallow (for a steakhouse-style crust)
Avoid olive oil for high-heat cooking—it burns too quickly and can turn bitter.
Preheat Your Cooking Surface
Whether you’re using a grill, cast-iron skillet, or stainless-steel pan, the rule is the same: heat it up before adding your steak. A properly heated surface ensures an instant sizzle and crust formation, rather than steaming or sticking.
- For a skillet: Heat it on high for at least 5 minutes before adding oil.
- For a grill: Preheat to 450-500°F and make sure the grates are clean and lightly oiled.
Once your steak hits that scorching-hot surface, don’t move it right away—let it sear undisturbed for at least 2-3 minutes per side to develop that crust.
Final Prep Tip: Consider Dry Brining for Extra Flavor
If you want to take things to the next level, consider dry brining—a technique where you season the steak with salt and let it rest uncovered in the fridge for several hours or overnight. This allows the salt to deeply penetrate the meat, enhancing both flavor and tenderness.
How to Dry Brine Your Angus Steak:
- Generously season both sides with coarse salt.
- Set it on a cooling rack positioned above a baking tray (to ensure proper air circulation).
- Refrigerate uncovered for at least 4 hours, up to 24 hours.
- Before cooking, pat dry and continue with the usual steps.
This extra step ensures a more concentrated beefy flavor and a crispier crust when seared.
Cooking Methods for a Perfect Angus Beef Steak
Now that you’ve selected a high-quality Angus beef steak and prepped it to perfection, it’s time for the most crucial step—cooking it just right.
This is where precision matters, and a slight misstep can mean the difference between a mouthwatering, tender steak and a disappointing, overcooked piece of beef.
The cooking method you choose will depend on your preferred texture, level of char, and available equipment.
Whether you’re firing up the grill for a smoky, flame-kissed crust or using a cast-iron skillet for that rich, restaurant-style sear, the key is to apply the right heat and technique for the best results.
Let’s break down the top three methods for cooking a perfect Angus steak, so you can decide which one suits your style best.
1. Grilling vs. Pan-Searing: Which Is Better?
When it comes to cooking an Angus beef steak, you’ll often hear people debating between grilling and pan-searing. The truth? Both methods can yield phenomenal results—it just depends on what you’re looking for.
Grilling: The Classic, Smoky Flavor
If you love that smoky, slightly charred exterior with a juicy, flame-kissed center, grilling is the way to go. Grilling works especially well with fattier cuts like ribeye, as the rendered fat drips onto the flames, infusing the steak with even more flavor.
How to Grill Your Steak Like a Pro:
✔ Preheat your grill to at least 450-500°F for a perfect sear.
✔ Brush the grates with oil to prevent sticking.
✔ Use direct heat for a thinner steak (1-inch thick or less) and indirect heat for a thicker cut.
✔ Flip the steak only once to develop an even crust.
✔ Let it rest after cooking to keep all those flavorful juices locked inside.
Pro Tip: If you want perfect grill marks, rotate the steak 45 degrees halfway through cooking on each side.
Pan-Searing: The Steakhouse Favorite
If you prefer that crispy, golden crust you’d get at a high-end steakhouse, pan-searing in a cast-iron skillet is your best bet.
This method works exceptionally well for leaner cuts like filet mignon or New York strip, where locking in moisture is key.
How to Achieve a Steakhouse-Quality Sear:
✔ Preheat your skillet on high heat for at least 5 minutes.
✔ Use a high smoke point fat (like avocado oil, ghee, or beef tallow).
✔ Sear the steak for 2-3 minutes per side without moving it.
✔ Finish with butter basting (add butter, garlic, and rosemary in the last minute).
✔ Let it rest before slicing to retain its juices.
Pro Tip: For an ultra-crispy crust, press the steak down lightly with a spatula right after placing it in the pan.
2. The Reverse Searing Technique (Best for Thick Steaks)
If you’re dealing with a thicker cut (1.5 inches or more) and want an even cook from edge to center, the reverse sear method is your best option.
It’s a low-and-slow approach that gradually brings the steak up to temperature before finishing it with a blazing-hot sear.
This technique prevents the overcooked outer ring that often happens with direct high heat cooking. The result? A perfectly pink center with a beautifully caramelized crust.
How to Reverse Sear a Steak:
1️⃣ Preheat your oven or smoker to 225-250°F.
2️⃣ Place the steak on a wire rack over a baking sheet (this allows air circulation).
3️⃣ Cook slowly until the internal temperature reaches 10-15°F below your target doneness (for medium-rare, stop at 115-120°F).
4️⃣ Heat a cast-iron skillet to high heat and sear for 1-2 minutes per side to develop a crust.
5️⃣ Let it rest for at least 10 minutes before slicing.
Why It Works:
✔ Prevents overcooking while ensuring a consistent doneness.
✔ Enhances flavor by giving the steak more time to develop complex aromas.
✔ Eliminates the risk of burning the outer layer while the inside remains undercooked.
Pro Tip: Add a knob of butter and fresh herbs during the final sear for an extra flavor boost.
3. Using a Meat Thermometer for Precision Cooking
Guessing your steak’s doneness by touch alone isn’t always reliable—especially if you’re aiming for precise, steakhouse-quality results. The best way to guarantee perfection? A digital meat thermometer.
Here’s a temperature guide to help you hit your desired doneness every time:
| Steak Doneness | Internal Temperature (°F) | Appearance |
|---|---|---|
| Rare | 120-125°F | Cool, red center |
| Medium-Rare | 130-135°F | Warm, red center |
| Medium | 140-145°F | Warm, pink center |
| Medium-Well | 150-155°F | Slightly pink center |
| Well-Done | 160°F+ | Fully cooked, no pink |
How to Use a Thermometer Correctly:
✔ Insert the thermometer into the thickest part of the steak, avoiding bones or fat.
✔ Check the temperature a few minutes before you think it’s done—steak continues cooking after removal.
✔ Always let the steak rest for 5-10 minutes before slicing to redistribute the juices.
Pro Tip: If you don’t have a thermometer, use the finger test—gently press on the steak and compare it to the firmness of different parts of your hand (rare = soft, well-done = firm).
Resting and Serving Your Steak
The final steps in cooking your Angus beef steak are just as important as the searing and grilling process. Resting and serving your steak correctly can make or break the overall eating experience.
Sure, you may be eager to cut into that perfectly cooked steak right away, but trust us, waiting just a bit longer will yield a far more satisfying result.
Let’s dive into why resting is essential, how to serve your steak like a pro, and some extra tips to elevate the whole experience.
1. Why Resting Is Crucial for a Juicy Steak
After you’ve put in all that effort to cook the perfect steak, resting it for a few minutes might feel like a slow-down. But in reality, it’s one of the most important parts of the process. Here’s why:
When you cook a steak, the heat forces the juices inside to move toward the center of the meat. If you cut into it immediately after cooking, those juices will spill out, leaving you with a dry steak.
By allowing the steak to rest, the muscle fibers relax and the juices redistribute evenly throughout the meat, ensuring that every bite is as tender and juicy as possible.
How Long Should You Rest Your Steak?
For thin cuts (like a sirloin or flank steak), rest for about 5 minutes.
For thicker cuts (like ribeye, filet mignon, or T-bone), let it rest for 8-10 minutes.
A good rule of thumb: rest your steak for half the amount of time it was cooked.
2. How to Rest Your Steak Properly
While it’s tempting to throw your steak on the plate and start digging in, how you rest it can make a difference in the outcome. Here’s the step-by-step process to get the best results:
- Place the steak on a cutting board or plate: Ensure it’s not too crowded, allowing air to circulate around the steak.
- Tent it with foil: Loosely cover the steak with a piece of aluminum foil to help retain some warmth. Avoid wrapping it tightly, as this can trap steam, potentially making the crust soggy.
- Rest in a warm place: Keep your steak on the counter away from drafts. You don’t want it to cool down too quickly, but you also don’t want it sitting in a hot, steamy environment.
- Use a cutting board with grooves: A board with grooves will catch any juices that may escape during the resting period, preventing a mess and allowing you to use those juices later for a sauce or gravy.
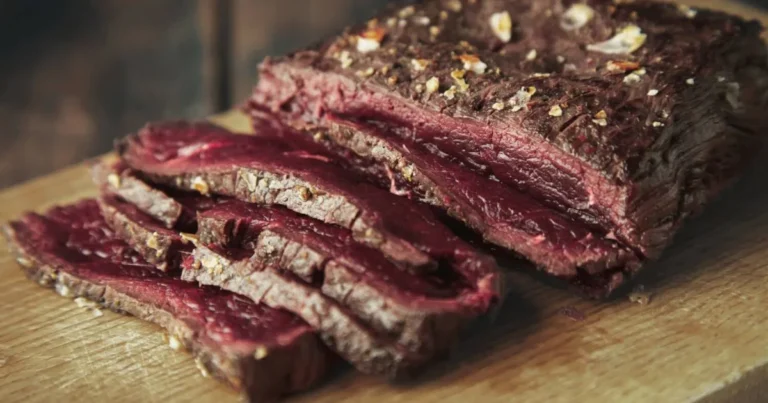
3. Slicing Your Steak the Right Way
Once your steak has rested and you’re ready to serve, it’s essential to slice it properly to maximize tenderness and flavor. The direction you slice in makes a huge difference in the texture.
How to Slice Your Steak for Maximum Tenderness
The key to a tender steak lies in cutting against the grain. The grain refers to the direction of the muscle fibers, and slicing against it shortens the fibers, making each bite easier to chew and more tender.
- Identify the grain: Take a moment to look at your steak’s surface to see which direction the lines of muscle fibers run.
- Cut perpendicular to the grain: Slice in the opposite direction of the fibers for the best texture.
- Angle your knife: For a clean, professional look, angle your knife at a 45-degree angle while slicing. This technique also enhances tenderness.
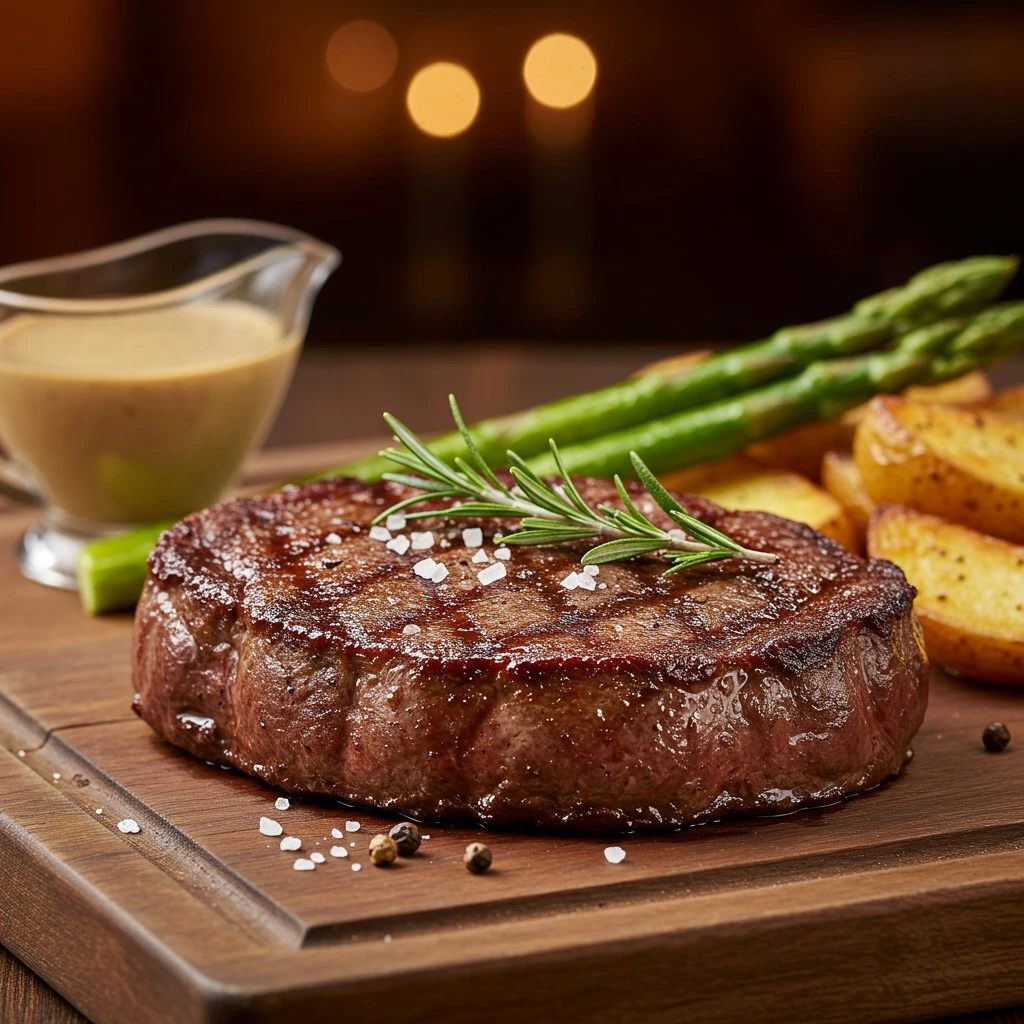
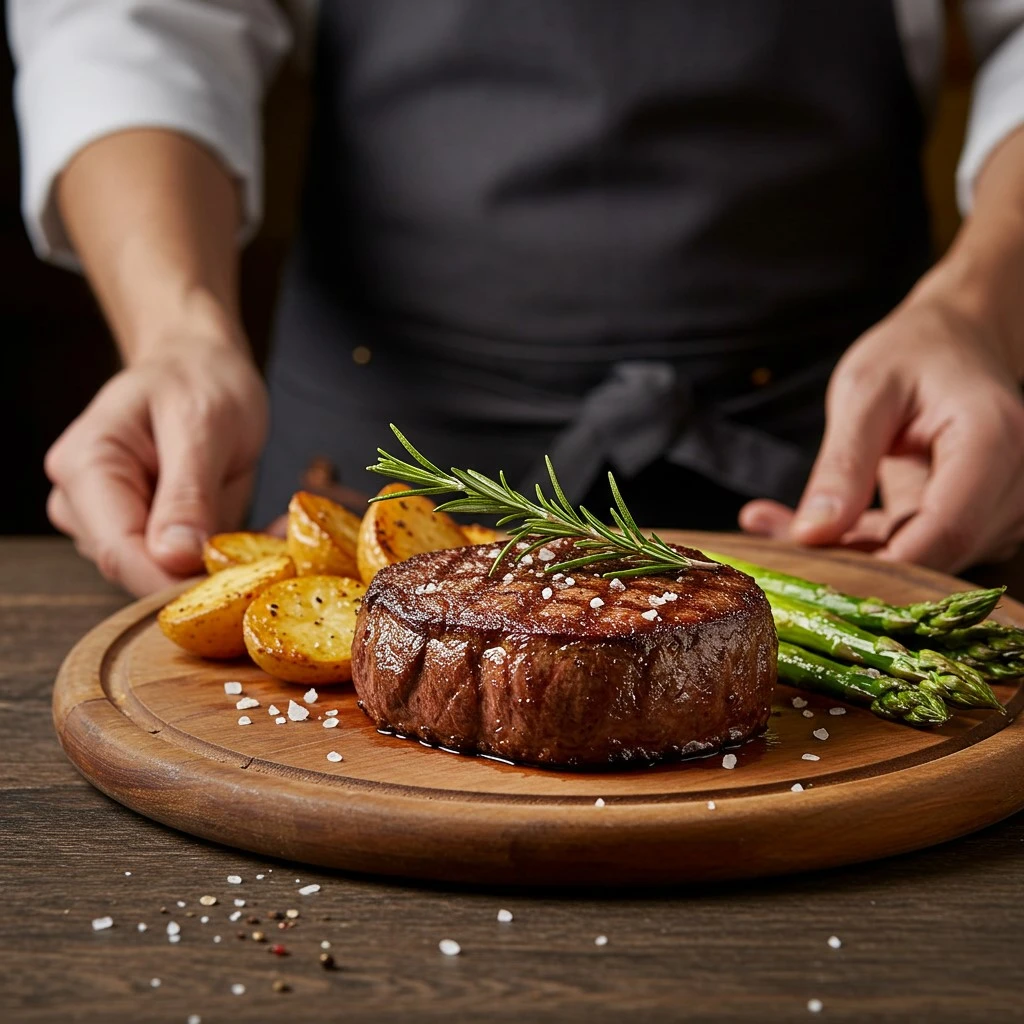
4. Elevating the Presentation
How you serve your steak can elevate the entire dining experience. Presentation matters—even if you’re enjoying a casual steak night at home. Here are some simple yet effective ways to make your meal look as good as it tastes:
- Use a warm plate: Serve your steak on a warm plate to maintain its temperature longer. You can warm the plate by running it under hot water or placing it in a low-temperature oven for a few minutes before serving.
- Garnish with fresh herbs: A sprig of rosemary, thyme, or parsley adds a pop of color and freshness that compliments the rich, savory flavor of the beef.
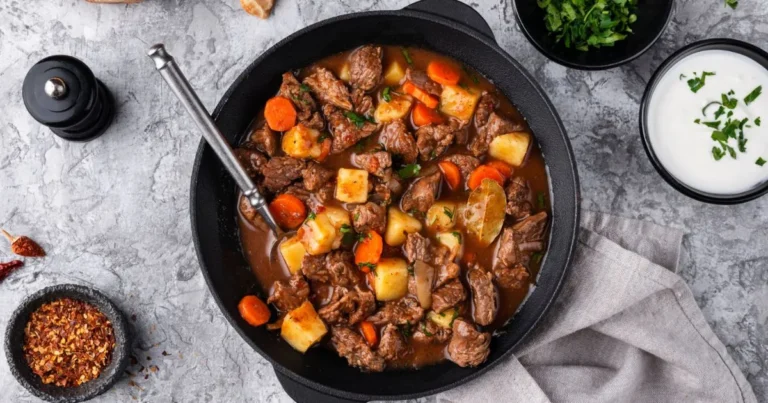
- Add a finishing touch: A drizzle of beef jus, compound butter, or a balsamic glaze can enhance the steak’s flavor and make it look more restaurant-worthy.
- Pair with the right sides: Serve your steak with flavorful, complementary sides like roasted vegetables, mashed potatoes, or a crispy salad to round out the meal.
5. Serving Temperature and Timing
The timing of serving your steak is just as important as cooking it. Once you’ve rested and sliced the steak, you’ll want to make sure it’s still at the perfect temperature when it hits the plate.
Serving Temperature
- A medium-rare steak should be 130-135°F when sliced. If it’s slightly cooler than this after resting, it’s okay—its temperature will rise a little as it rests.
- If serving with a side or sauce, be mindful that both the steak and accompanying dishes should be at a similar temperature to ensure a balanced meal.
Serving Tip for Special Occasions
For those extra special moments, consider carving your steak tableside for a more interactive dining experience. Whether it’s a T-bone or a ribeye, slicing it in front of your guests adds an element of drama and creates a sense of occasion.
Conclusion
By now, you should have all the tools and knowledge you need to cook the perfect Angus beef steak every time. Whether you’re a seasoned pro or just starting your culinary journey, achieving steak perfection is entirely within your reach.
The secret lies in the small details, from choosing the right cut of meat to mastering your cooking technique and allowing the steak to rest before serving.
Remember, the key to a tender, juicy, and flavorful steak lies in selecting high-quality Angus beef, preparing it with care, and cooking it with patience.
It’s not just about the cooking method you choose but also how you treat the steak before and after it hits the heat.
By following the steps outlined in this guide, you can confidently elevate your steak game and create a meal that rivals any steakhouse.
Whether you’re grilling, pan-searing, or reverse searing, each cooking method brings its own unique touch to the table. But at the end of the day, it’s the attention you pay to every step that will make your Angus steak truly stand out.
Don’t forget the importance of resting your steak—it may seem like a simple step, but it’s crucial for ensuring that your steak retains its full flavor and juiciness.
When you slice your steak, do so with care, and always remember to cut against the grain for the most tender bites.
Finally, serve your steak with confidence—garnish it with fresh herbs, drizzle it with a flavorful sauce, and pair it with the perfect sides. By taking these extra steps, you’ll impress your guests and enjoy a meal that’s as satisfying as it is delicious.
In the end, cooking the perfect Angus beef steak isn’t just about following instructions—it’s about embracing the process and enjoying the results.
With the right approach, you can create a steak that’s tender, juicy, and packed with flavor, making every bite an unforgettable experience. Happy cooking!